

This past weekend all the kids were home at my parents house, and I thought it would be fun to do a quick little Christmas crafting project with the girls. I saw this pin on pinterest and decided it was the perfect DIY. What I love about this project is that there is a really good chance you already have everything you need to create them.

What You Need:
1/2 cup salt
1/2 cup warm water
1 cup flour
Sharpies
Straw
String
Drinking glass or cookie cutter
To make the dough recipe simply mix the salt, water and flour with a mixer. This is a lot like the homemade play dough your mama used to make for you. If you wanted you could also add some food coloring to create a colored affect, but I really liked the natural look of the dough.
Roll the dough out between 1/8 and 1/4 inch thick. I found the thinner the better. Then cut shapes with a drinking glass (for circles) or cookie cutters if you would like to do another shape.
Use a straw to poke a hole in the top of the ornament.
Now bake at 250*F for about two hours or until the dough feels dried out to the touch.

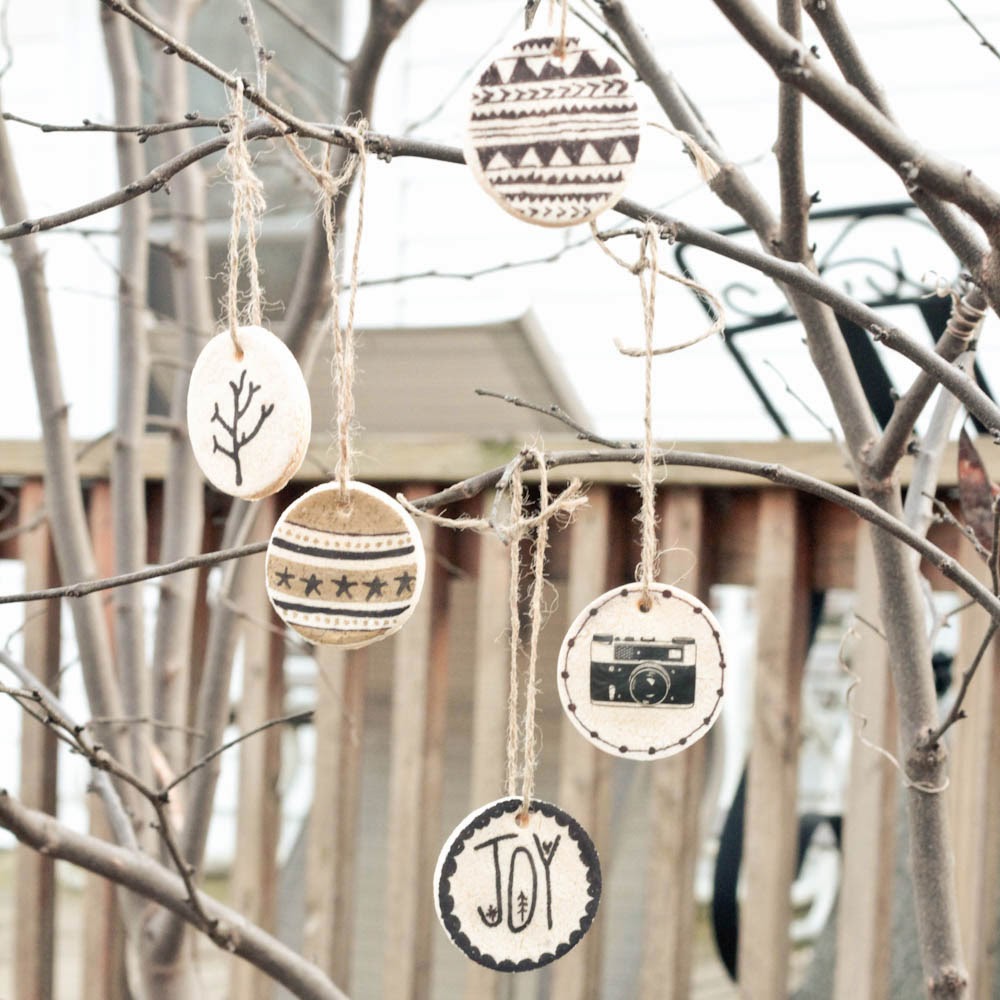
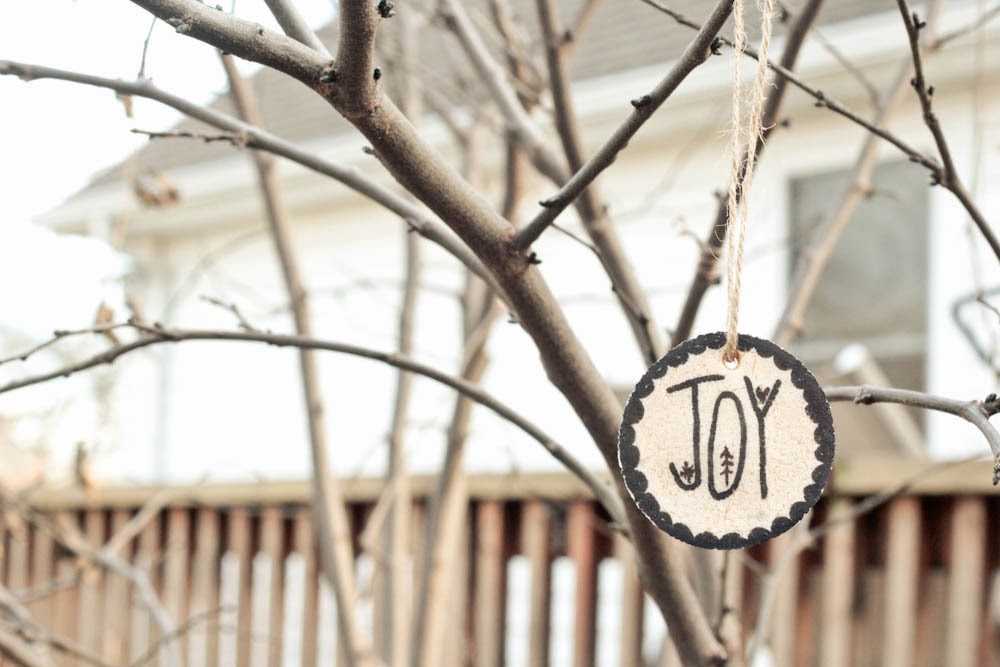
After the ornaments cool, simply draw on them with sharpies. Don't feel confident in your drawing skills? Neither did I. The camera ornament is actually a rub on I got from the scrapbooking section.
This would also be a really great project you can do with kids, because crayons work well on the baked dough. They would also make really fun and unique gift tags. One batch of dough makes about 12 three inch circle ornaments.
Happy Christmas Creating!
No comments:
Post a Comment